Image Generation
PebbleChat can create images for you in conversation. Ask it to draw, design, or illustrate something and it produces the image right there in the chat — no separate tool, no leaving the conversation. The finished image renders inline in the assistant’s reply and is saved automatically to your Files.
Asking for an image
There’s nothing to switch on or select — just ask in natural language. The assistant uses its image tool whenever you ask it to generate, create, draw, paint, design, or illustrate an image, picture, or logo:
- “Draw me a lighthouse at sunset in watercolour style”
- “Create a logo for a coffee shop called Morning Ritual”
- “Design a hero image for our product launch page, landscape”
Three image shapes are supported. The assistant picks the shape based on your request, so if you want a specific one, say so:
| Shape | Dimensions | When it’s used |
|---|---|---|
| Square | 1024 x 1024 | The default — used unless you ask otherwise |
| Landscape | 1536 x 1024 | Ask for “landscape” or “wide” |
| Portrait | 1024 x 1536 | Ask for “portrait” or “tall” |
While the image builds
As soon as generation starts, a placeholder card appears in the assistant’s message — an image-shaped card with a pulsing icon, a shimmer sweep, and the caption Creating image…. It stays in place until the finished image replaces it.

Generation typically takes a little while — the placeholder is your signal that the request is in flight, not stuck.
The finished image
When generation completes, the image renders inline inside the assistant’s message bubble — not as a download chip or a link. The image is part of the conversation and survives page reloads: reopen the chat later and it renders again in place.
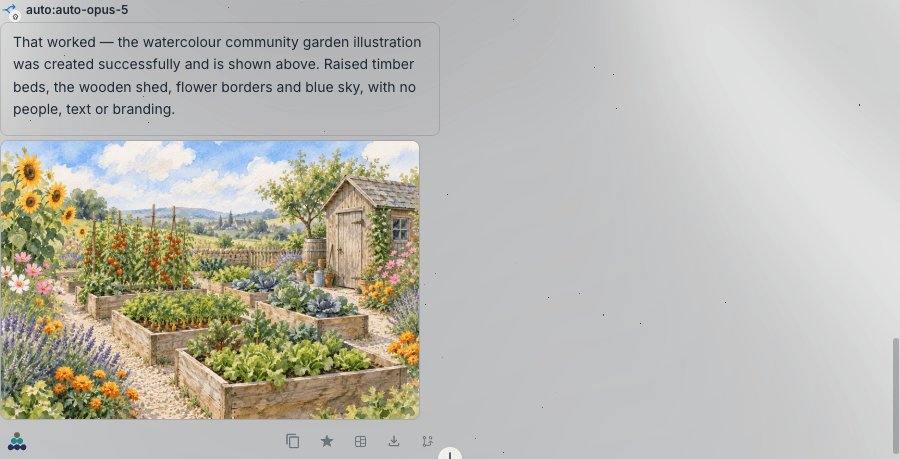
Viewing it full size
Click the image to open it in a large in-app viewer. The viewer has a close button, and clicking anywhere outside the image dismisses it.
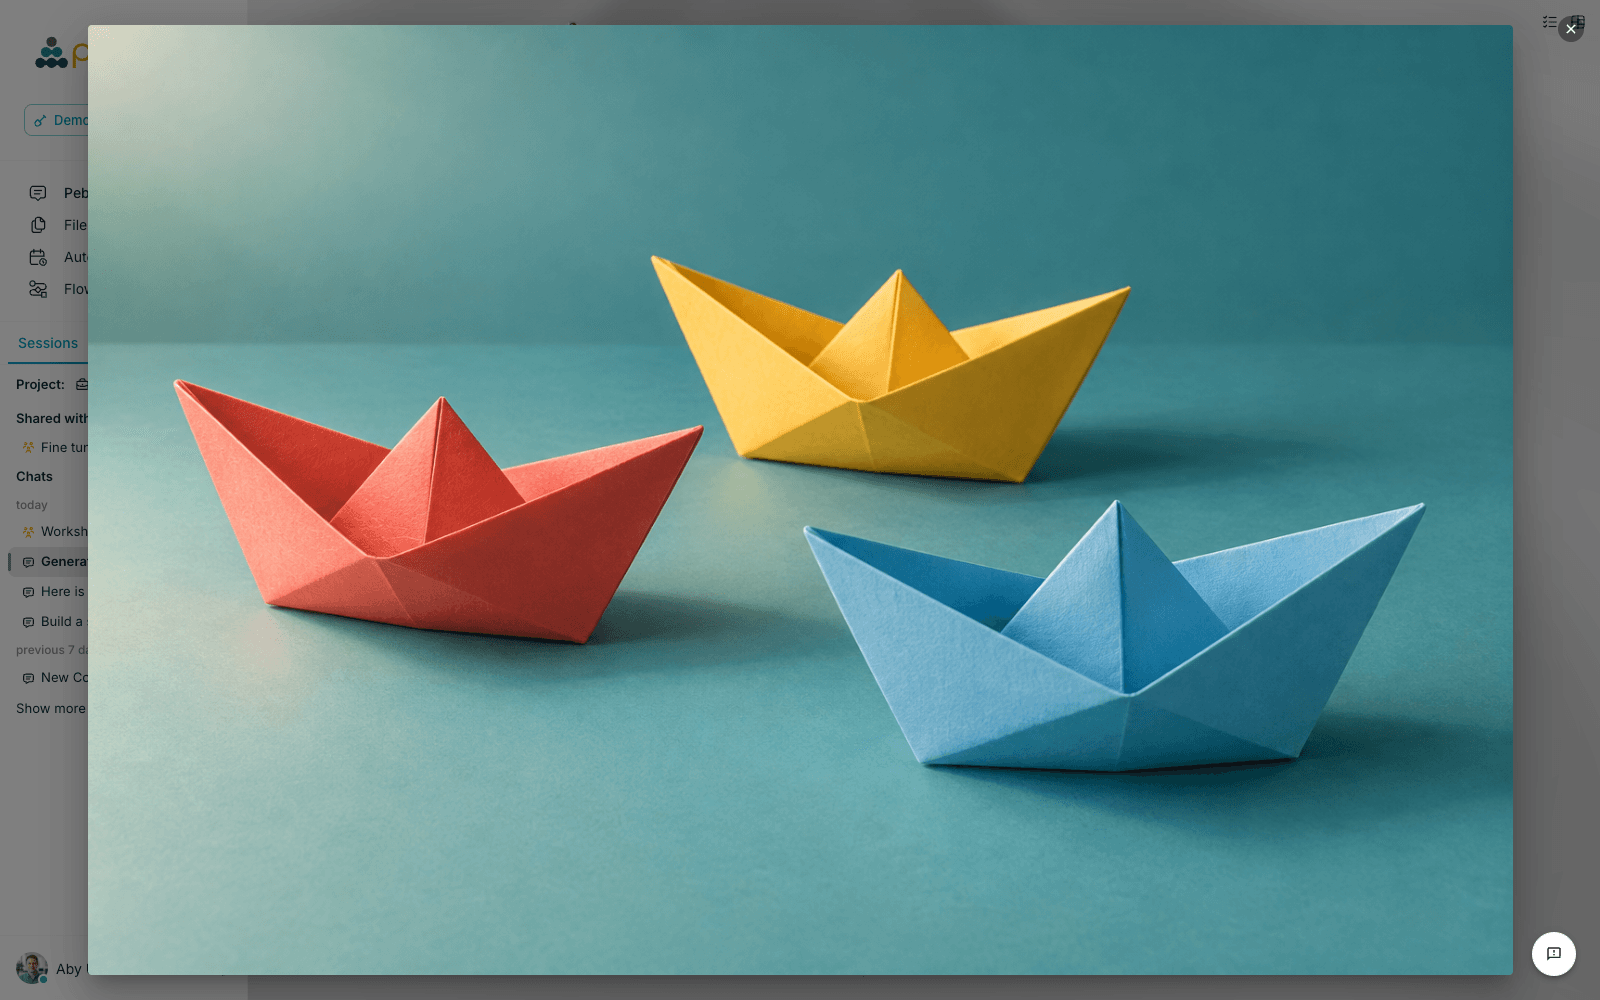
Tip: the viewer deliberately has no download or copy buttons — right-click the image to copy or save it using your browser’s native options. This works both inline and in the viewer.
Where images are saved
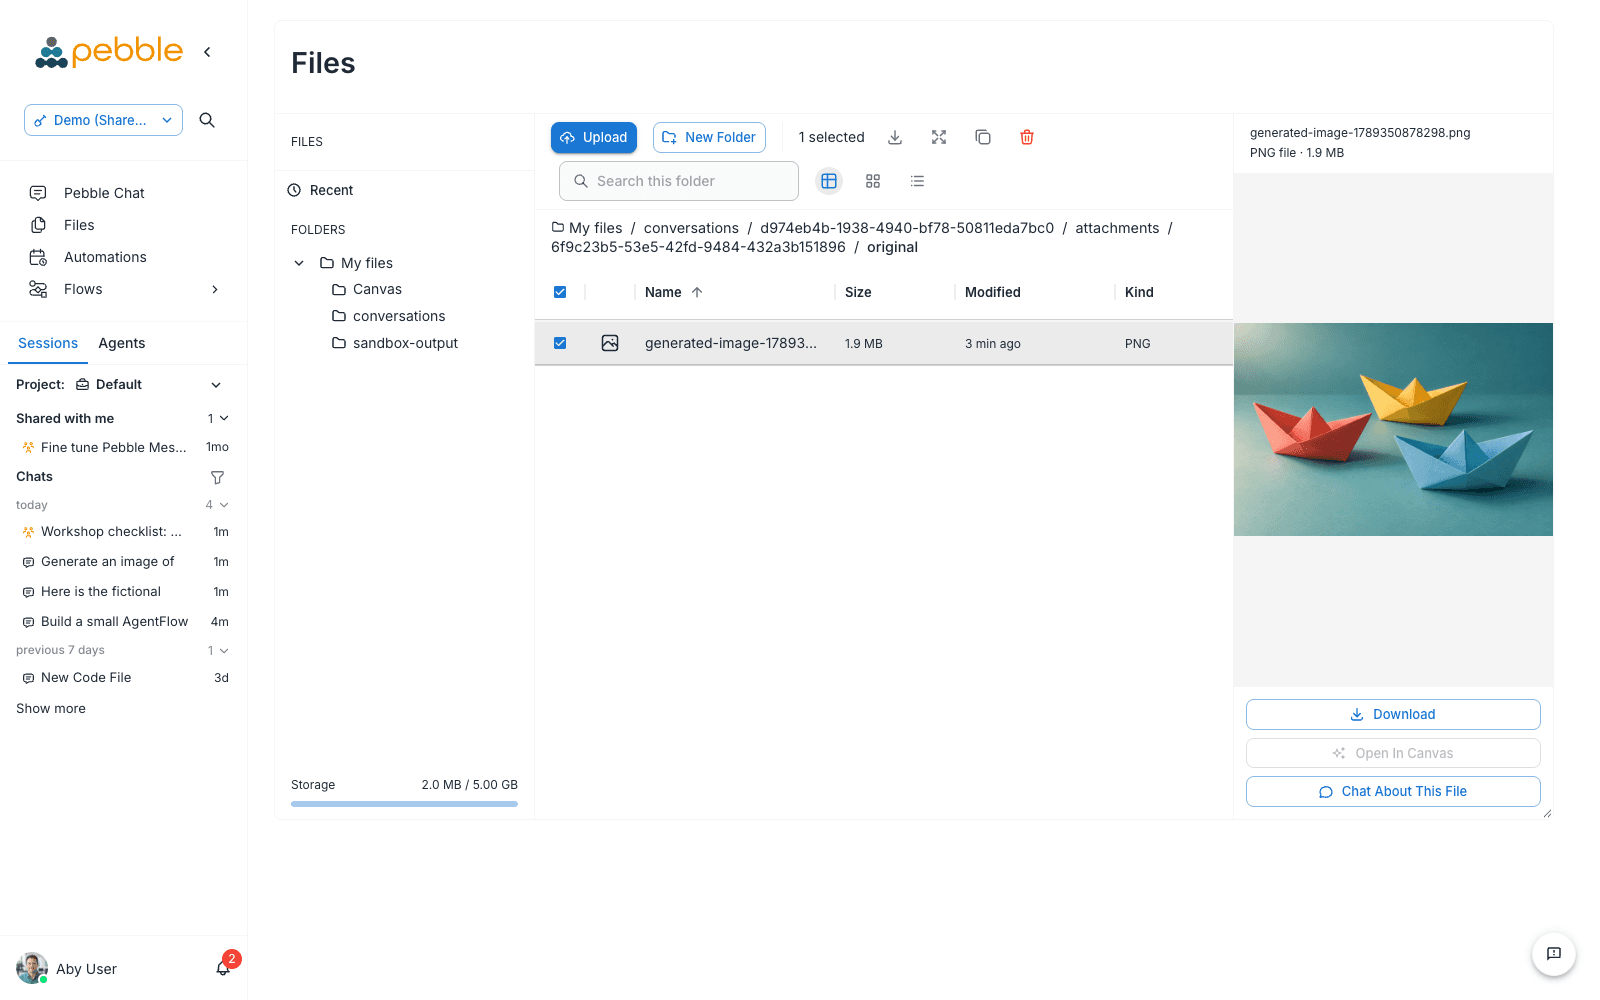
Every generated image is saved automatically — you don’t need to do anything to keep it. Images are stored as files named like generated-image-<timestamp>.png (.jpg or .webp depending on the model’s output) and land in two places:
- The conversation itself — the image stays inline in the assistant’s message, so scrolling back through the chat always finds it
- Your Files — the Files page in the PebbleChat section of the sidebar, where the image is stored alongside the conversation’s other attachments in your personal file store
Follow-up edits and questions
The assistant can see the image it just made, so the conversation continues naturally:
- Ask about it — “What’s in the bottom-left corner?” gets an informed answer, because the image is fed back to the model on your next turn
- Ask for changes — “Make the sky bluer” or “Same logo but in green” produces a revised image guided by the previous one
Two things worth knowing about how this works under the hood:
- Edits are new generations. There is no in-place editing — every change request creates a fresh image, with the model using the previous image as its reference. Expect the revised image to be close to, but not pixel-identical with, the original apart from your change.
- Only the most recent image is fed back. The assistant sees the latest generated image in the chat (up to 4 MB). If you’ve generated several images and refer back to an early one — “go back to the second version” — the assistant may not be able to see it any more, so describe what you want instead.
Note: follow-ups depend on your selected chat model supporting vision. With a non-vision chat model the assistant can still generate images, but it can’t see them afterwards, so edit requests and questions about the image won’t be grounded in what was actually produced.
When image generation isn’t available
If image creation isn’t set up for you — it’s been disabled by your admin, no image model is configured, or your role doesn’t include the Create Images permission — the assistant tells you plainly that image creation isn’t currently available and suggests contacting your administrator. It won’t attempt to fake an image with ASCII art or a made-up link. The exact wording varies slightly between conversations, but the message is always explicit.
Similarly, if a generation attempt fails partway through, the assistant tells you what went wrong rather than leaving the placeholder spinning.
For admins: enabling and configuring image creation
Image creation is governed at organisation level, with a per-role permission on top. It defaults to on — you only need to visit the settings to restrict it or pin a specific model.
The Image Creation section
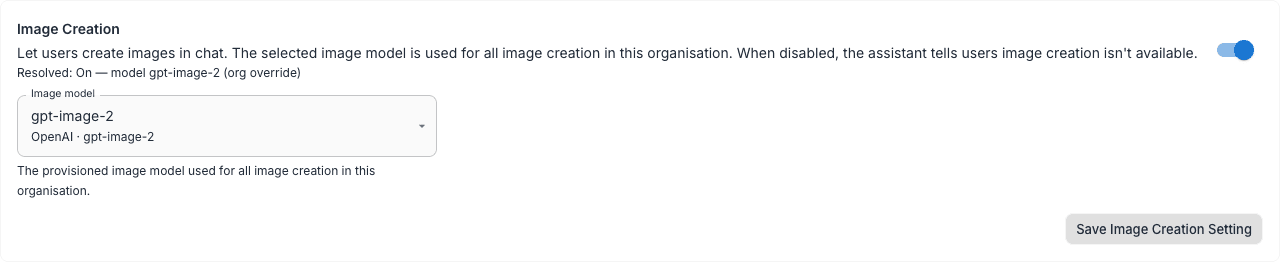
The controls live on the Chat Settings tab of the organisation Configuration page (Admin → Organisation → Settings → Configuration), in a section headed Image Creation:
- On/off toggle — when disabled, the assistant tells users image creation isn’t available
- Image model dropdown — the first option is Auto-detect (first image-capable model); below it are your organisation’s provisioned image-capable models, shown by display name with the provider underneath. A configured model that’s no longer in the catalogue is flagged as such
- Resolved caption — shows the effective state and model after inheritance is applied (organisation override, platform setting, or default)
- Save Image Creation Setting button — a snackbar confirms “Image creation setting saved”
Provisioning an image model
Image-capable models are enabled in the same place as chat models: Admin → Organisation → Settings → Models. The Image model dropdown lists only your provisioned models that are image-capable; if none exist yet, the helper text points you to the Models page (or you can leave the setting on auto-detect, which picks the first active image-capable model in the catalogue).
The selected model must actually be served through PebbleRouter. If it isn’t, the image tool simply isn’t offered — users get the clear “not available” message, and a precise diagnostic is written to the server log telling you to add or sync the image model into the organisation’s PebbleRouter profile.
Generation is provider-independent — it routes through PebbleRouter’s standard image generation endpoint, so what works in your deployment depends on which image models you’ve provisioned and served, not on any hard-coded provider list.
Per-role permission
Individual access is controlled by the Create Images permission, in the pebblechat category of the role editor (the Roles tab of the same Configuration page). Standard admin and user roles received this permission automatically on upgrade; the read-only viewer role did not.
Related
- Model Selection — choosing a chat model, including vision-capable ones that enable image follow-ups
- User File Store — where generated images are stored
- File Attachments — attaching your own images and files to a chat
- Organisation Models — provisioning image-capable models for your organisation
- Configuration — the Chat Settings tab that hosts the Image Creation section